Hey, Pete here, I’m one of Pablo & Rusty’s business specialists, a seasoned barista, ex cafe owner and a dedicated dad to three of the biggest babycino fans on the planet!
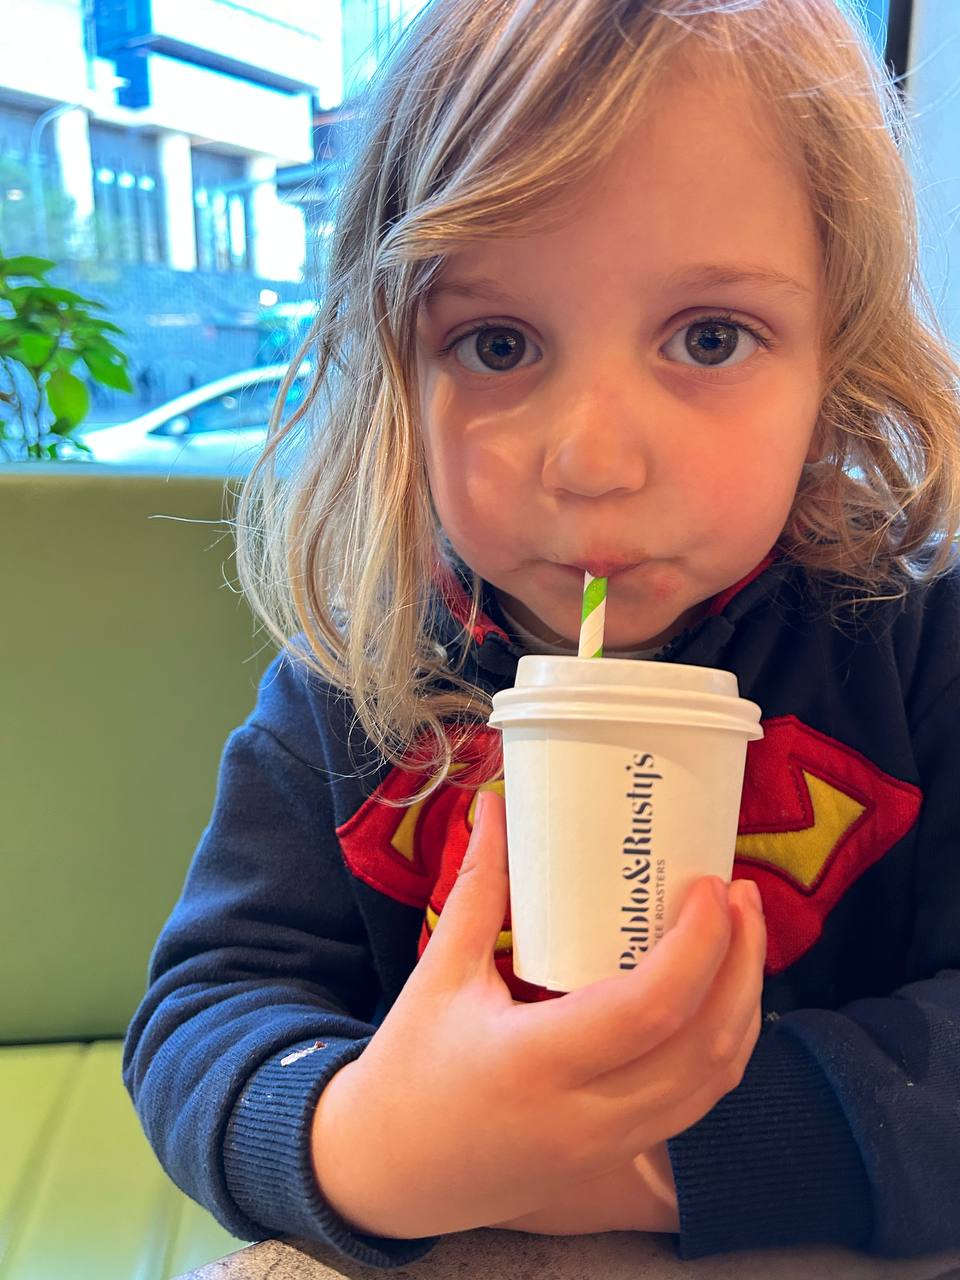
I've come to appreciate the simple joys of life – like the precious smile on my child's face when I present them with a beautifully crafted babycino that leaves that trademark chocolate ring of goodness around their nose and cheeks.
However, every parent knows the challenges of serving a drink to a little one – the potential for spills and messes is real!
Through trial and error, I've discovered the art of creating the perfect babycino while keeping spills at bay.
In this blog, I'm excited to share my tried-and-true method with fellow parents and coffee enthusiasts.
The Ingredients
To craft the ultimate babycino experience, you'll need a few key ingredients:
Milk Selection: Opt for whole milk for a creamy texture and mild flavour that kids love. However, always ensure it's suitable for your child's dietary needs—no assumptions here (alternate milks will also work, if you prefer them).
Quality Espresso Machine: Invest in a reliable espresso machine that enables precise milk steaming at around 50 degrees, ensuring a safe temperature for your child.
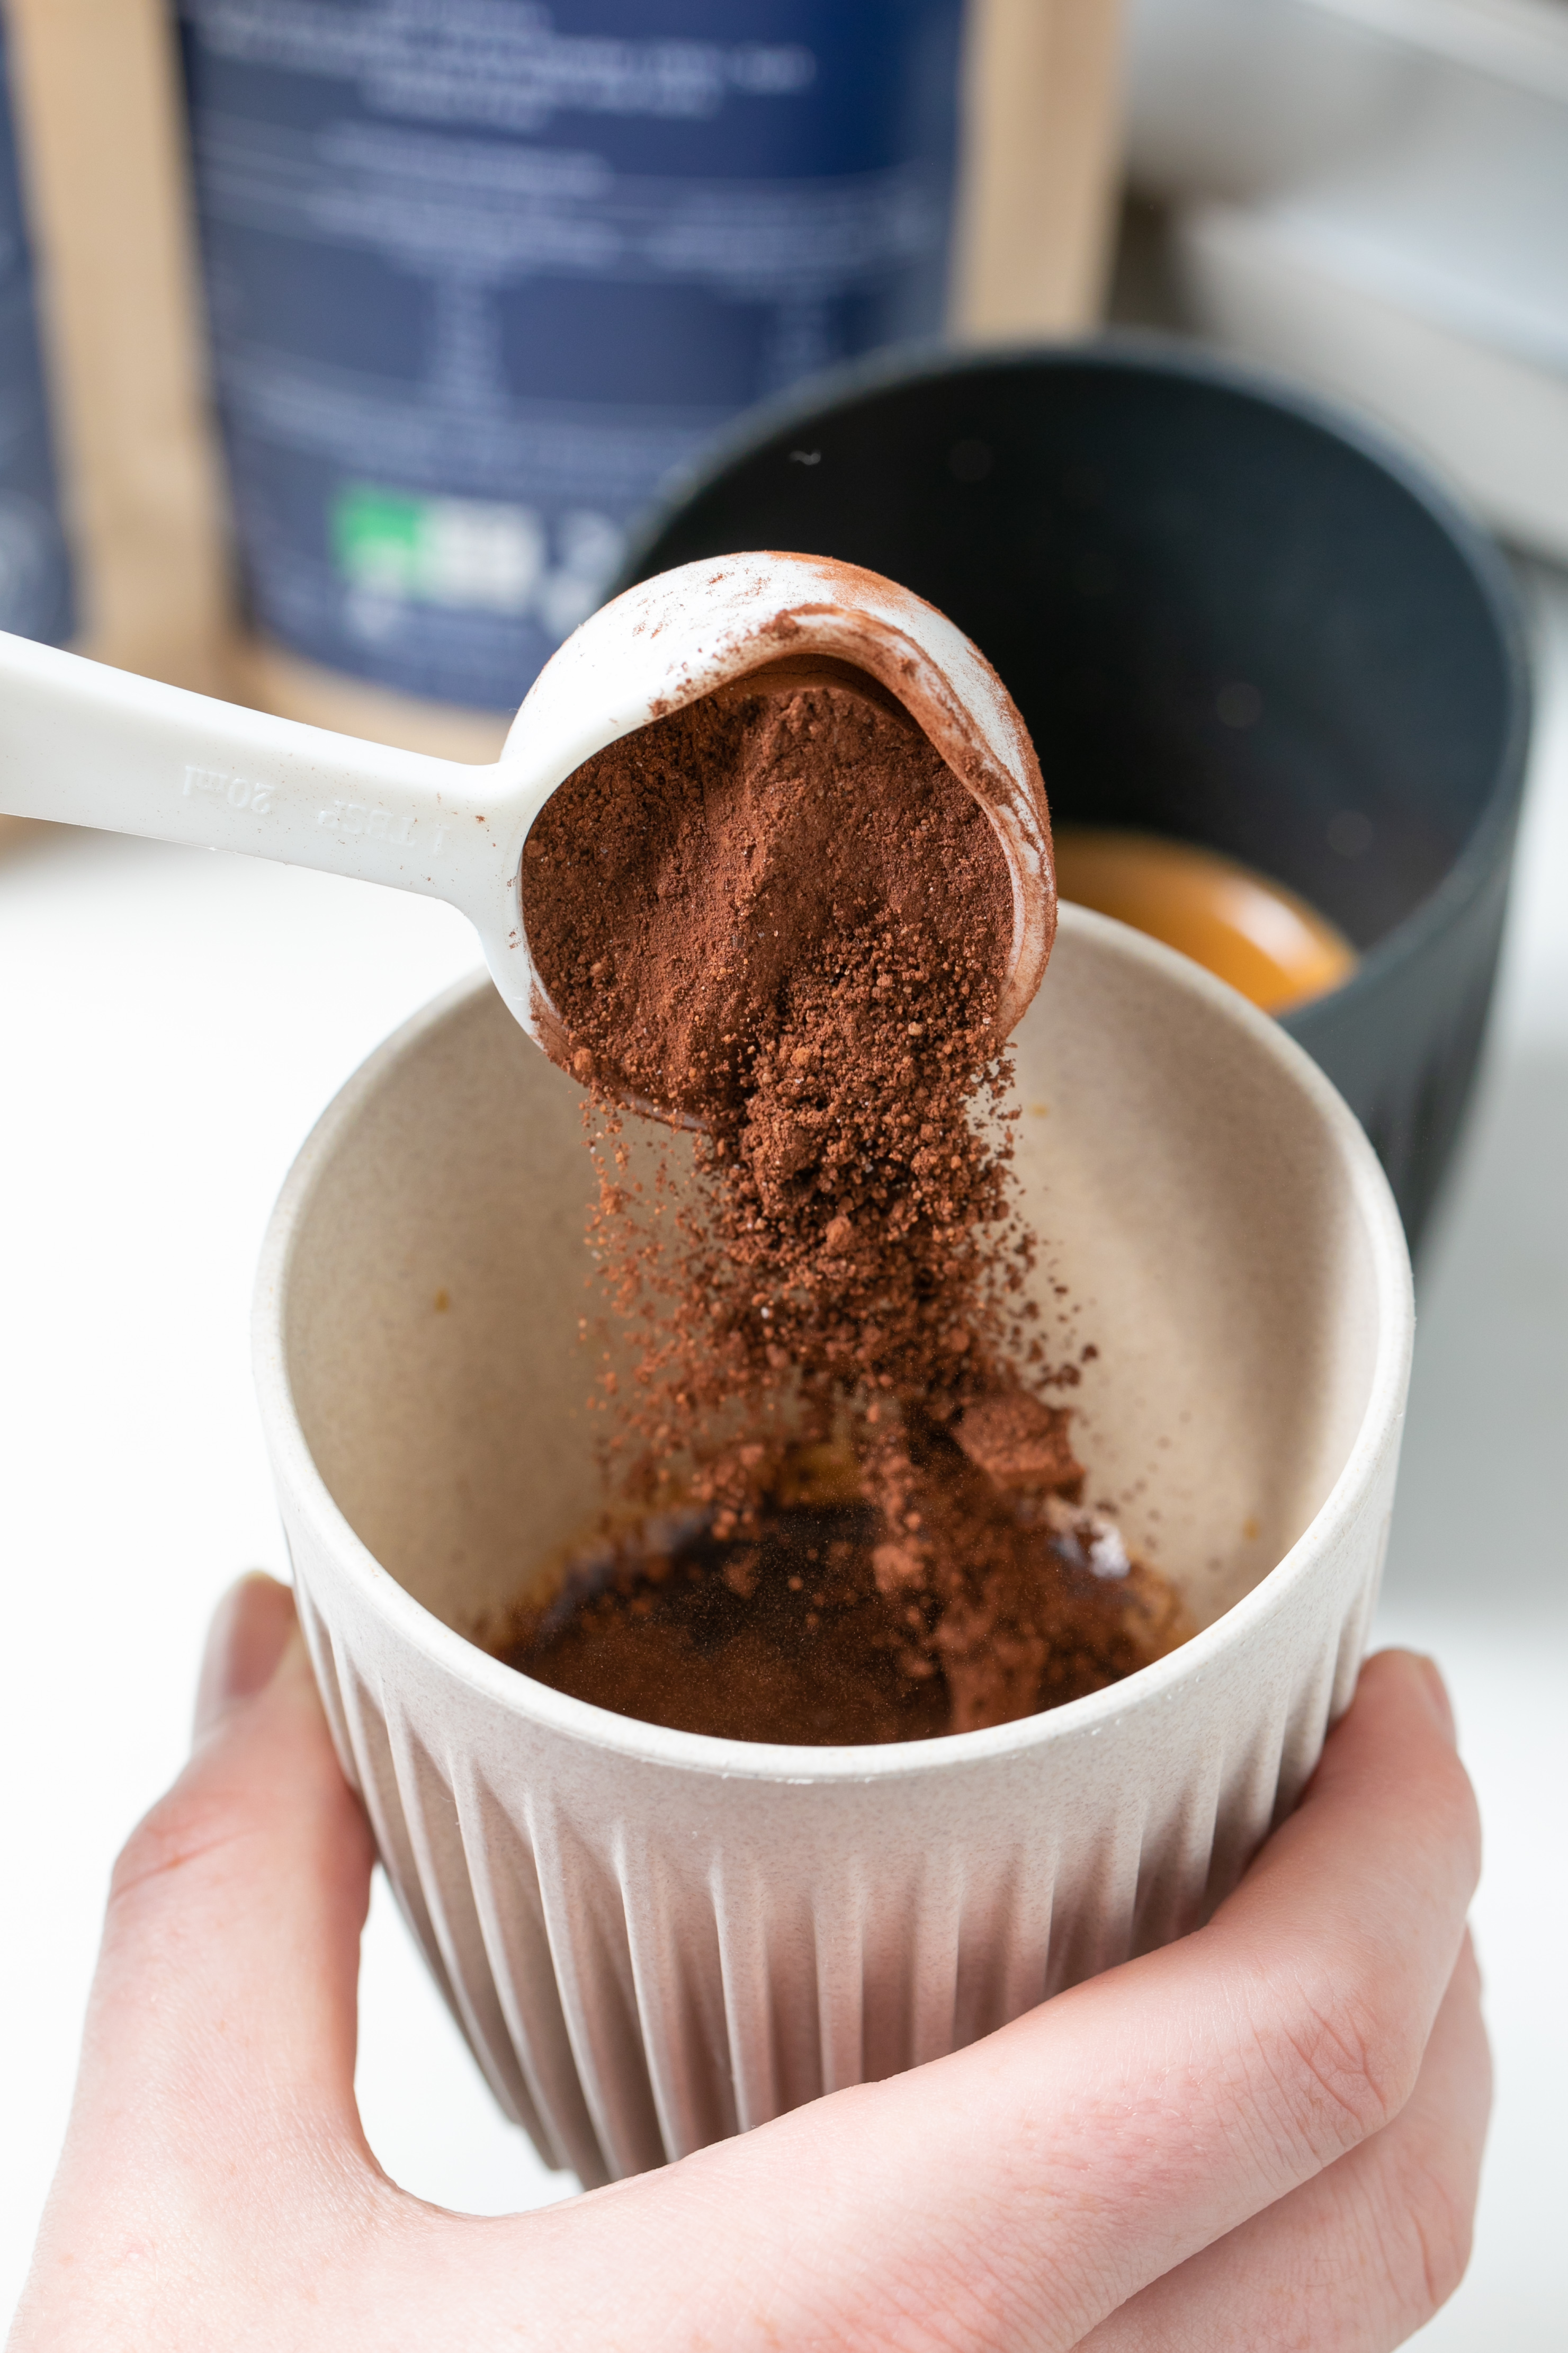
Cocoa Powder or Chocolate Shavings: Add a pinch of cocoa powder or chocolate shavings for that delightful sweetness and visual appeal. (If you haven't checked out P&R’s Chocolate Powder, well you and your little munchkins are in for a treat!)
Whipped Cream: Elevate your babycino with a dollop of whipped cream and maybe a sprinkle of colourful sprinkles if your child adores them.
Now for the Technique
Choose the Right Cup: Opt for a spill-proof 6oz or 8oz cup to avoid messy accidents. For dine-in experiences, consider using safer alternatives like Huskee cups, not glass or ceramic.
Steam the Milk: Begin by steaming the milk to approximately 50°C. This temperature ensures the milk is warm and serves as a perfect canvas for foam.
Create Silky Foam: The secret to spill-free babycinos lies in the foam. Tilt the steaming pitcher slightly to produce velvety microfoam. As you pour the milk into the cup, allow the foam to gently cascade over the milk, forming an inviting dome.
Dusting of Cocoa: Sprinkle a pinch of cocoa powder or chocolate shavings over the foam for that added touch of sweetness and visual allure that captivates young imaginations.
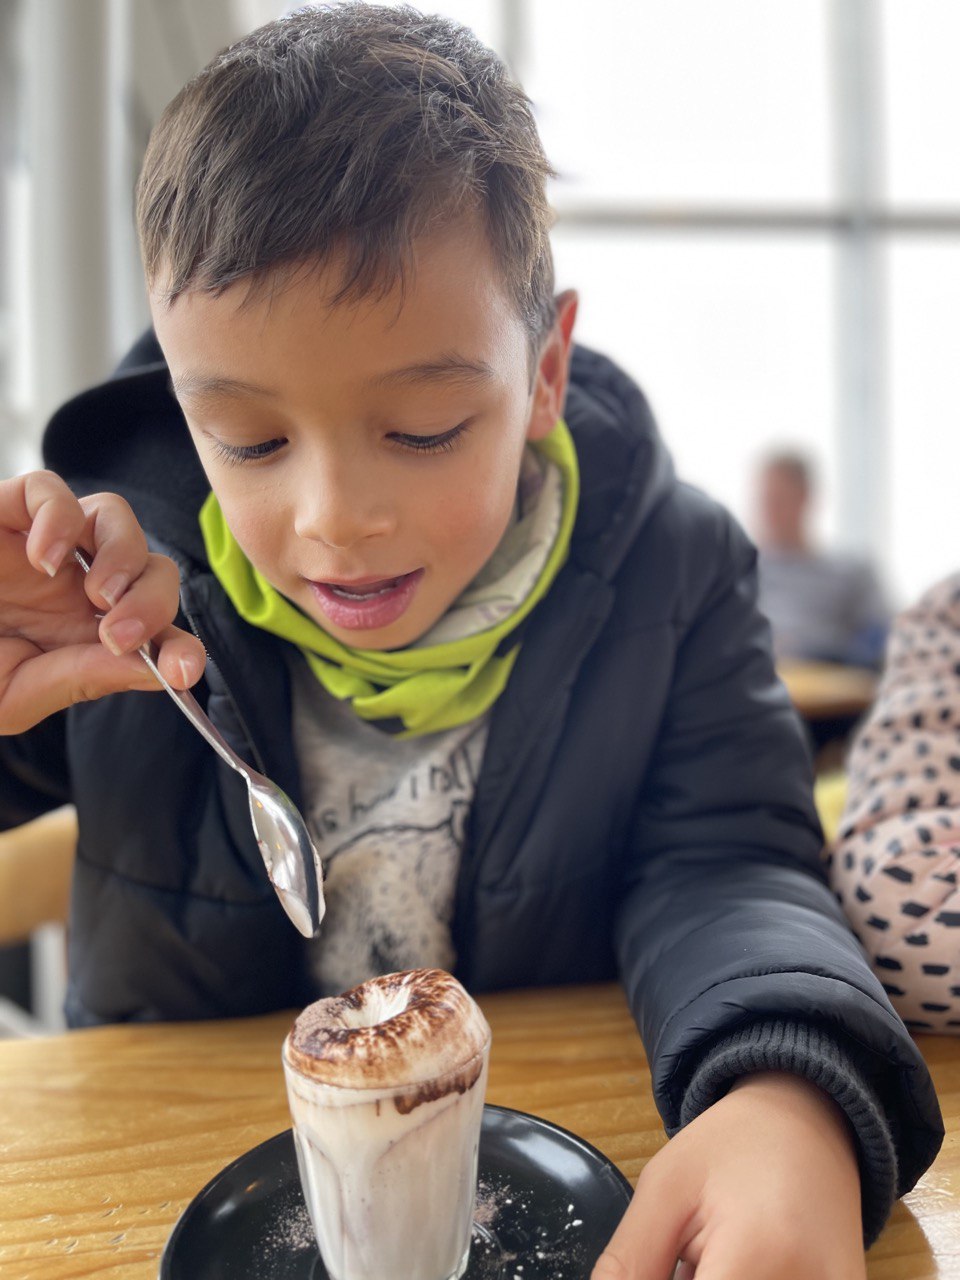
The Whipped Cream Magic and a Marshmallow: Carefully place a dollop of whipped cream in the center of the foam. Whipped cream complements the warm milk and foam, making the babycino even more appealing. And who can resist colourful sprinkles? My daughter loves them!
The Presentation
Now that your babycino is crafted to perfection, it's time to present it to your little one in a way that minimizes spills:
Steady Hands: Hold the cup with both hands and maintain a steady grip to avoid sudden jolts that could lead to spills.
Strategic Sips: Encourage your child to take small sips, allowing them to savour the flavours without overwhelming their senses. Remind them that the froth will be at the bottom and to finish their milk before removing the lid.
Use a Saucer: Placing the Babycino cup on a saucer can catch any potential drips or spills, saving your table from messes during the dine-in experience.
My Conclusion
In the world of parenting, it's the little moments that create lasting memories. Crafting the perfect babycino for your child is not only a delightful treat but also an opportunity to share a special bonding experience. By following these steps, you can create a spill-free masterpiece that's sure to bring joy to both you and your little one. So, don your barista hat and embark on this delightful journey of creating the perfect babycino – it's a journey of love, creativity, and, most importantly, cherished moments.